


You are at a conference. You want to share your excitement with the world, you take a picture on your smart phone. You are about to send a glorious tweet about the speaker line-up. You look at the photo. It is rubbish. The speakers look like they have covered themselves with a ton of self-tanning lotion. They have all turned orange.
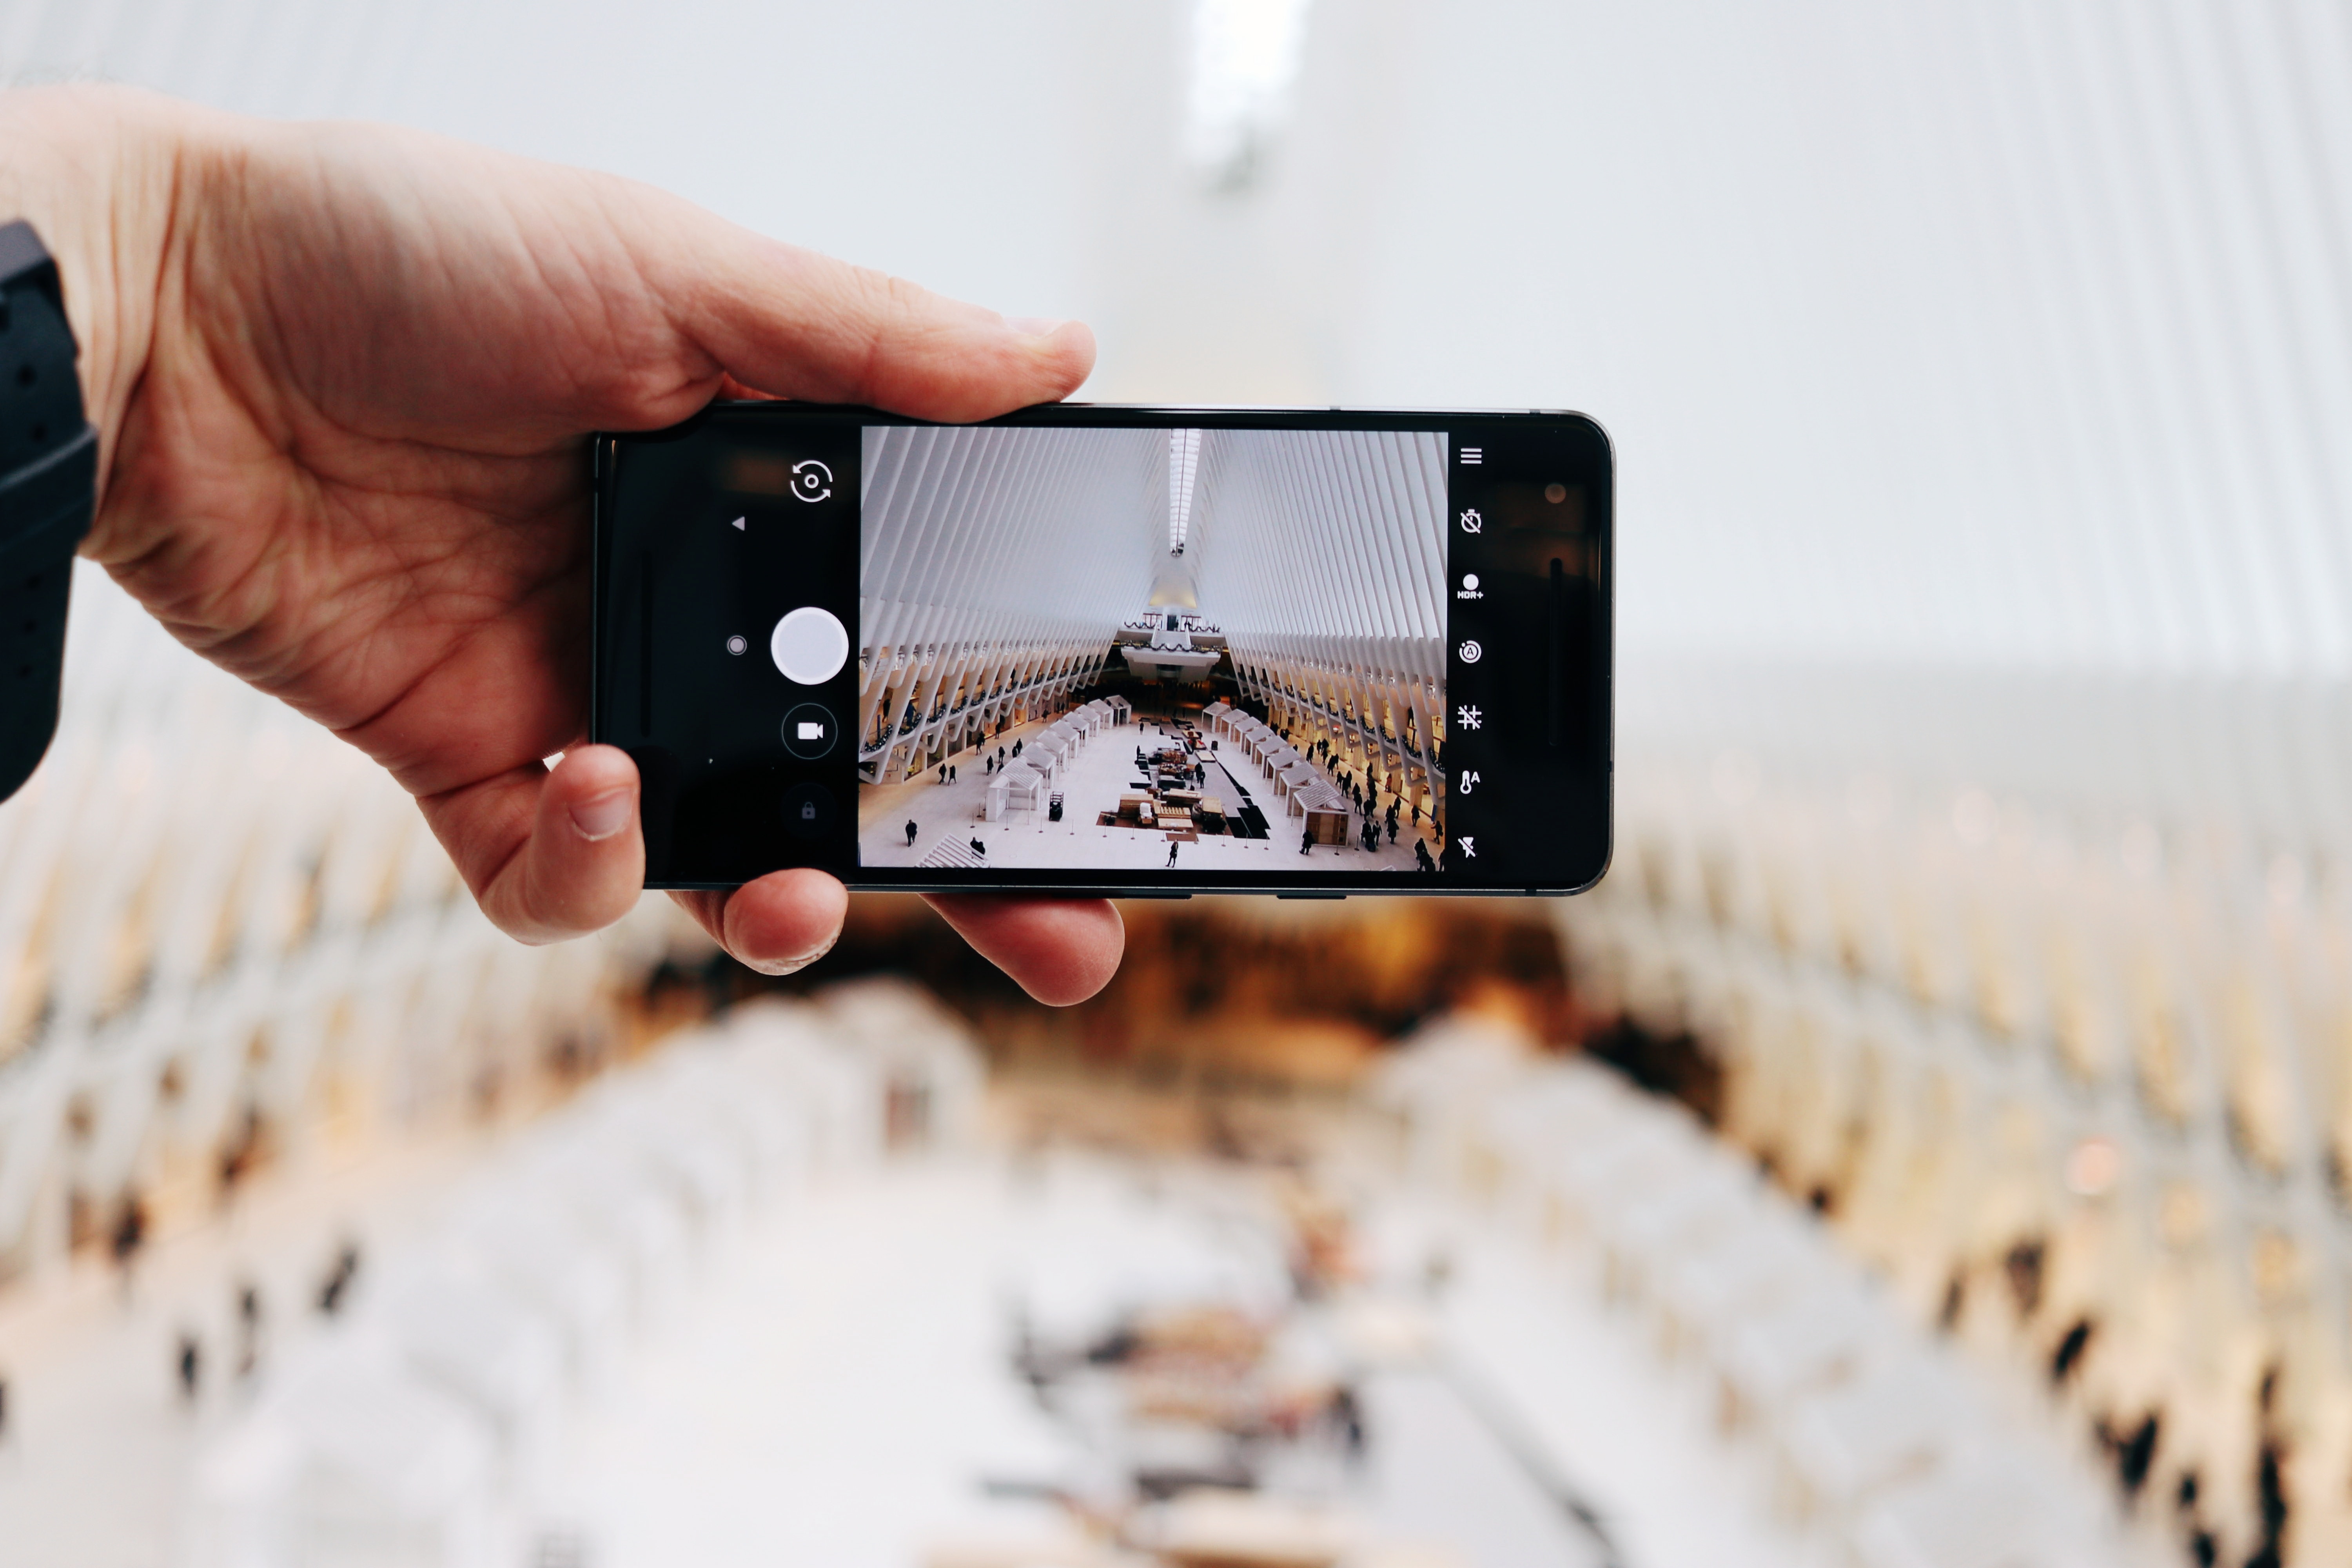 Photo by Joseph Akbrud on Unsplash
Conference venues are notoriously dark and often badly lit. They typically use traditional tungsten bulbs which can cause horrible yellow tints; fluorescents can make your photo too blue; and LEDs can make everything look washed out and pale. To be honest, to produce a good quality picture in such tricky lighting conditions you would need a decent SLR and even more decent flashgun. But what can you do to produce an OK photo just using a phone camera that can be shared to the world with more pride than embarrassment?
Here are a few pointers for you:
1. Change you angle (if you can).
Sometimes the key to a good photo is simply reframing it or taking it from different position. The speakers could have a massive lamp behind them and it might be enough to simply move your camera an inch or two to avoid taking a potentially horrid photo with a backlit subject and a massive lens flare. Alternatively, you can try to refocus your image on the darker area of the photograph, for instance, by tapping and holding on the viewfinder while in the default camera app.
2. Turn the Live Photo feature off (on an iPhone).
Your camera will handle handle low-light situations much better with the Live Photo feature off. You can find out why by reading this article.
3. Make magic with camera filters (and other iPhone smart adjustments)
You are stuck in a row of seats, and you cannot move or even stand up. You have taken the photo and you have to make it work! What do you do? Use your camera's built-in, super clever editing tools and filters to turn an ugly photo into an arty one... :-)
Here is an image I took at a The Zero Outage Executive Summit I photographed some time ago. I took this picture using my iPhone as I wanted to send it to my social channels while at the event. The composition is pretty good but the speaker is badly lit and there are some distractions creeping in...
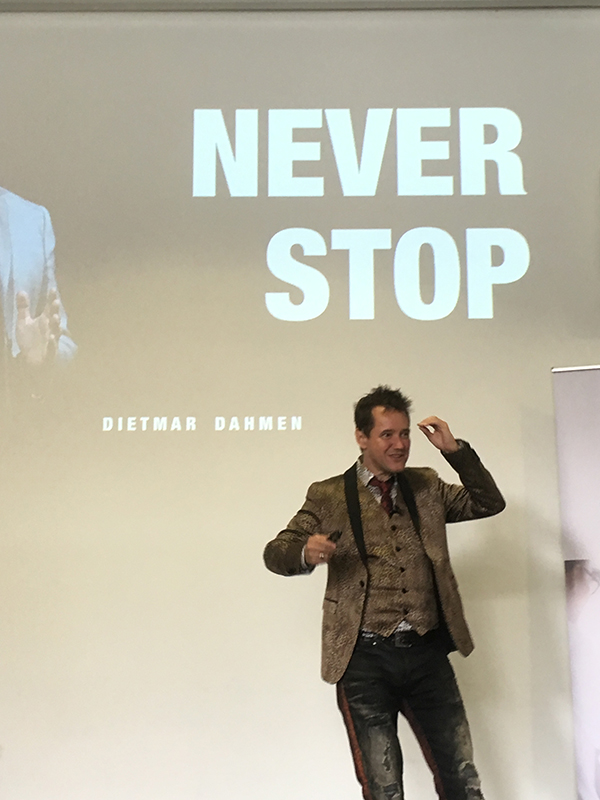
Turn it black and white using Filters in Photos. The first thing I do is trying to turn it into black and white. To open filters, click on the Filters button (second icon) and select the one that works best for the photo. Of course, there might be different filter that will make the photo shine other than black and white.

Finetune with smart adjustments in Photos. The speaker's face still looks rather dark, so I lighten it using black & white light controls (3rd icon).
- Tap on the adjustments button in the bottom navigation — it looks like a dial with dots around it.
- Tap on the dropdown arrow next to Color, Light, or B&W.
- Tap on the name of the adjustment that you'd like to make.

Cut out distractions. I now want to get rid of the annoying distracting elements in my photo, so I go to the Crop tool (1st icon) and tweak the image until I am happy.

Et voila! My image is ready for my social media.

Editing photos with Google photos. If you have an android phone, you can edit your photo in a similar fashion using Google photos, which has editing tools available to add filters, adjust your light and colour, and crop your image. You can find out more by reading this article.
4. Use Instagram
If you are an Instagram fan you are probably familiar with an awesome selection of filters you can use - to transform a poor image into an arty one in seconds! Choose from a large variety of filters, crop the photo, and you are ready to go. Once you have posted to Instagram you can easily share the same post to other social media channels such as Facebook, Twitter. Read this article if you need reminding how to edit photos in Instagram.

/Passle/5a952e58043d310eb0f9a6fc/MediaLibrary/Images/50f7dfcdd44fb153b05420f0/2019-04-03-10-52-19-395-5ca49063989b6e0ed485d933.jpg)
/Passle/5a952e58043d310eb0f9a6fc/SearchServiceImages/2026-05-28-10-56-15-866-6a181f4fb720a7ddee692659.jpg)


